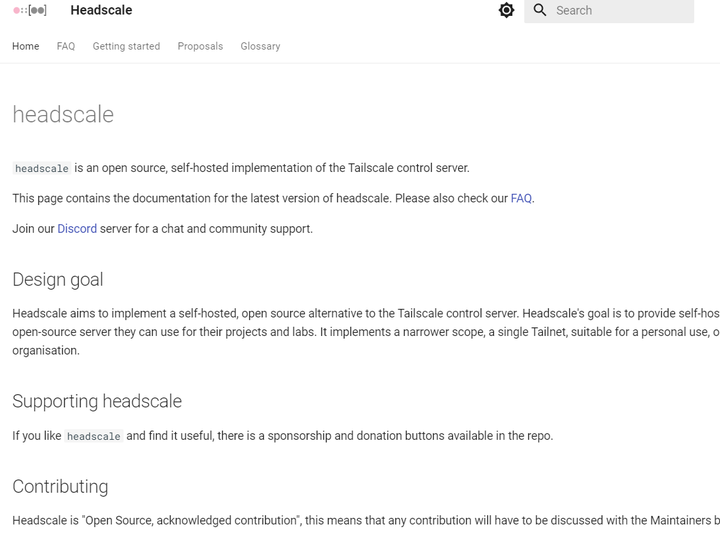
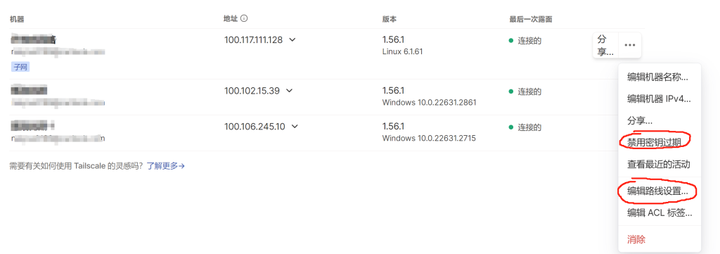
准备工作:提前解析好域名 演示的系统为Debian12、操作需要提前安装好derp服务器:
1、关闭防火墙或者放行端口
- 关闭防火墙
sudo ufw disable
- 放行端口
sudo ufw allow 需要放行的端口
2、安装SSL证书
- 安装依赖包
apt update -y&&apt install -y curl&&apt install -y socat
- 安装证书申请程序acme.sh
curl https://get.acme.sh | sh -s email=输入你的邮箱
- 申请证书
~/.acme.sh/acme.sh --issue -d 你的域名 --standalone
- 安装证书到/root目录下
~/.acme.sh/acme.sh --installcert -d 你的域名 --key-file /root/private.key --fullchain-file /root/cert.crt

wget --output-document=headscale.deb \
  https://github.com/juanfont/headscale/releases/download/v0.22.3/headscale_0.22.3_linux_amd64.deb
- 国内服务器操作方案:先把安装包下载到本地,然后通过SSH连接工具上传到/root目录下,并用下面命令重命名
mv headscale_0.22.3_linux_amd64.deb headscale.deb #headscale_0.22.3_linux_amd64.deb部分根据实际最新链接调整
5、安装Headscale
sudo dpkg --install headscale.deb
6、设置Headscale开机自启
sudo systemctl enable headscale
7、启动Headscale
sudo systemctl start headscale
8、检查 Headscale是否运行
systemctl status headscale
9、安装Nginx
apt install -y nginx
10、然后在此目录下:/etc/nginx/sites-available打开default文件
map $http_upgrade $connection_upgrade {
    default      upgrade;
    ''           close;
}

server {
    listen 80;
    listen [::]:80;

    listen 443      ssl http2;
    listen [::]:443 ssl http2;

    server_name <YOUR_SERVER_NAME>;

    ssl_certificate <PATH_TO_CERT>;
    ssl_certificate_key <PATH_CERT_KEY>;
    ssl_protocols TLSv1.2 TLSv1.3;

    location / {
        proxy_pass http://127.0.0.1:8080;
        proxy_http_version 1.1;
        proxy_set_header Upgrade $http_upgrade;
        proxy_set_header Connection $connection_upgrade;
        proxy_set_header Host $server_name;
        proxy_redirect http:// https://;
        proxy_buffering off;
        proxy_set_header X-Real-IP $remote_addr;
        proxy_set_header X-Forwarded-For $proxy_add_x_forwarded_for;
        proxy_set_header X-Forwarded-Proto $scheme;
        add_header Strict-Transport-Security "max-age=15552000; includeSubDomains" always;
    }
    location /web {
		index  index.html;
        	alias  /var/www/web;
	}
}wget https://github.com/gurucomputing/headscale-ui/releases/download/2023.01.30-beta-1/headscale-ui.zip
12、安装解压工具并解压源文件
- 安装解压工具unzip
apt-get install unzip
- 解压文件
unzip -d /var/www headscale-ui.zip
13、修改配置文件,配置文件目录/etc/headscale/config.yaml
- 修改:server_url: http://你的服务器IP:服务器端口(这个端口需要放行)
- 修改:- http://127.0.0.1/d/derp.json(这一步放到最后再回来改)
14、重启服务器
reboot
15、启动headscale并重启nginx
systemctl start headscale
systemctl restart nginx
16、生成一个api key
headscale apikeys create --expiration 9999d
17、把服务器加入到headscale
tailscale up --login-server=https://你的域名
18、在此目录下/var/www创建一个名为:derp.json的文件
touch /var/www/derp.json
- 这个端口要和Derp服务器(/etc/systemd/system/derp.service)中的端口一致
{
	"Regions": {
		"900": {
			"RegionID":   900,
			"RegionCode": "myderp",
			"Nodes": [
					{
					"Name":             "a",
					"RegionID":         900,
					"DERPPort":         derp服务器端口,
					"IPv4":   "你的域名",
					"InsecureForTests": true
				}
			]
		}
	}
}
19、重启headscale和nginx
systemctl restart headscale
systemctl restart nginx
20、部分Tailscale常用命令
退出Tailscale:tailscale logout
关闭Tailscale:tailscale down
检查Derp服务器:tailscale netcheck
检查Tailscale:tailscale status
21、添加子网路由
tailscale up --login-server=http://你的域名 --accept-routes=true
tailscale up --login-server=http://你的域名 --accept-routes=true --accept-dns=false --advertise-routes=192.168.2.0/24 --reset
22、常见问题
- 如果headscale ui在设备视图页面打开有问题,可以更换headscale的版本尝试
- 如果安装nginx或者其它服务,显示下载源连接不上,可用17步的退出tailscale:tailscale logout,再尝试
- 如果发现源下载连接不上的,可用此命令(apt update && apt upgrade)更新系统,然后再继续
- windows接入headscale:运行注册表文件之后,需重启电脑,退出账号,然后把tailscale根目录文件删掉,再打开tailscale客户端,这一步多尝试几遍
- 如果退不了账号,需卸载客户端,重新安装,再执行上一步
- 注册表地址:计算机\HKEY_LOCAL_MACHINE\SOFTWARE\Tailscale IPN


